 |
 |
First, due to their shape, these are best on nails with relatively straight sides. You can see that the nail shape of my little finger is oval-ish, widening in the middle before tapering again, which causes a lot of naked nail to peek out along the sides.
If you're only planning on wearing your nail wraps for a day or two, you can skip the base coat, which will make them easier to remove later by peeling them off. For added longevity, wear both a base and top coat, remembering to cap your tips. I've noticed a very slight bit of funny bubbling and wrinkling occur after applying my Seche Vite top coat, but the extra shine and durability is worth it if you ask me.
Something else to note: I applied them with top coat and then went to bed. In the morning, I took a shower and then took my swatch photos. I did pretty much nothing else with my hands up until that point, and yet it was already showing slight tip wear. I think the heat and moisture from my shower also caused additional bubbles to form :< These are a fun option for a few days if you don't do too much with your hands, but the durability is not great.
 |
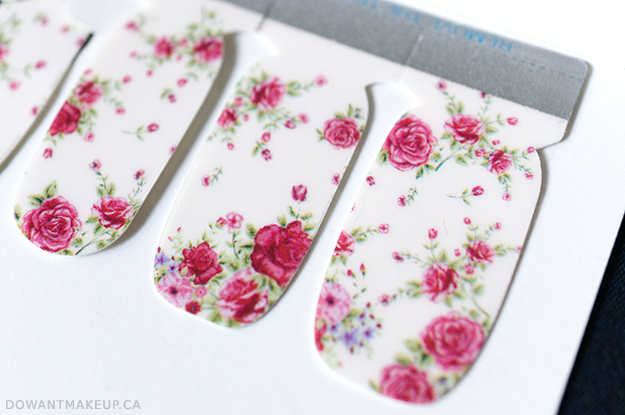
- Remove the paper cardstock-like backing. It's thin and may take you a few tries to separate from the nail wrap. Position the nail wrap and smooth the wrap on the nail from the cuticle, only just down the centre of the nail length-wise.
- Using a smooth, rounded tool (I use the handle end of a nail art brush), smooth the nail wrap from the centre outwards. It will not sit perfectly on the nail yet because of the plastic film.
- Remove the plastic film on the top side. Because of the thinness, it is tricky to find the edge to separate from the nail wrap, and takes some patience. It's the hardest/most annoying part of the whole process.
- Smooth the nail wrap down again with your rounded tool, always working from the inside out. Be sure that the edges are fully sealed to the nail.
- Use a medium grit nail file (~180) to remove excess nail wrap from the tips. You want to file in a downwards motion to encourage the nail wrap to wrap itself underneath the free edge of your nail.
Have you tried nail wraps before?
Available at Born Pretty ($1.69 USD)


